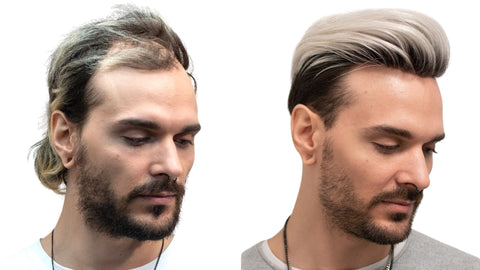
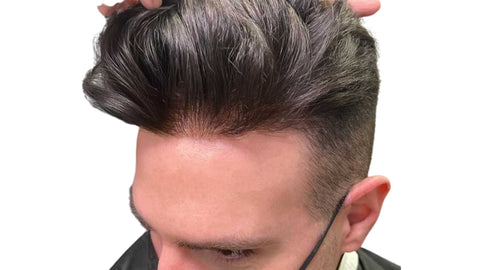
Men's hair systems are gaining popularity over the world because they are meeting the needs of a lot of men who are suffering hair loss. If you are one of them, or perhaps, a hairstylist who is new to the art of installing men’s hairpieces, this post is a guide to fitting and installing a hair system to ensure that it fits perfectly.
What you need for installing Men’s hair pieces
- Balder
- Comb
- 99% alcohol spray or wipes
- Scissors
- Scalp protector
- Glue/tape
- Measuring tape
- White eyeliner pencil
Fitting and Installing Men’s Hair Piece: Step-by-Step Guide

Step 1. Prepare the Scalp
This is the first step, and it entails preparing the area where you will attach the new hair system. You can section the hair depending on the nature of the system you are installing.
The next thing to do is to shave off any hair left in the balding area using a balder to ensure that it’s clean-shaven.
Then, you decide where you want to install the toupee and mark the spot on the forehead. To locate the hairline, place your four fingers between the eyebrows and stack them up towards the hairline. The hairline is the space right next to your fourth finger. Use white eyeliner to mark the hairline area.
Step 2. Cut the Base of the Hair System
This step ensures that the size of the hair fits the size of the client’s head. To do this, draw the size you need for the hair system, and cut it out while pulling the hair back to avoid cutting it by mistake. Use scissors to cut the line.
Alternatively, you can request that the base be cut upon order of the hair system.

Step 3. Remove Oils and Residues
Spray a 99% alcohol solution on the client’s scalp and wipe it off gently. Do this as many times as possible until the scalp is clean, and then let it dry. You should also clean the hair system in the same way.
Step 4: Apply Scalp Protector
This step is necessary for clients who are prone to dermal irritation to shield them from reacting negatively to the adhesives or hair system
A scalp protector also helps to secure the hair to the scalp for a longer time.
Step 5: Attach the Hair System
The first thing to do is to apply several layers of glue to the clean scalp. The adhesive should only cover the shaved area and not touch your natural hair. After the first layer dries, do the same with the second and third layers of glue. Apply glue at the base of the hair system once and then begin applying it to the scalp carefully from one end of the base to the other, covering the areas you had previously marked. Press down firmly on the hair system to flatten the hair and avoid wrinkles or hair bubblesStep 6: Styling
After installing the hair system, style it according to your client’s request. When styling, ensure to blend the hair system with your client’s natural hair so that it looks seamless.
Avoid pulling too tightly on the hair system while styling and avoid using harsh chemicals or styling products In this while the hair system is still curing.
At this point, you are successfully done with the fitting and installation of the men’s hair system.
Conclusion
In this blog post we have covered the basics on how to install a hair system, but we would like to mention that we do not recommend you to do it yourself and instead seek a professional with experience to do it.


